Free Arduino IO Simulator 1.8 Windows
Installation guide
First, you have to install the Java on your computer. On a windows computer, it's mostly pre-installed.
Download the Arduino Io Simulator from the website and you will get an executable 'exe' file called 'setupArduinoUNOsimulator.exe' in your Downloads folder.

Your computer will ask if you want to install this program. Click on 'Yes' to start the setup process.
If you want to add a simulator shortcut to your desktop, check the checkbox to accept this.

If you want to add a simulator shortcut to your desktop, check the checkbox to accept this.
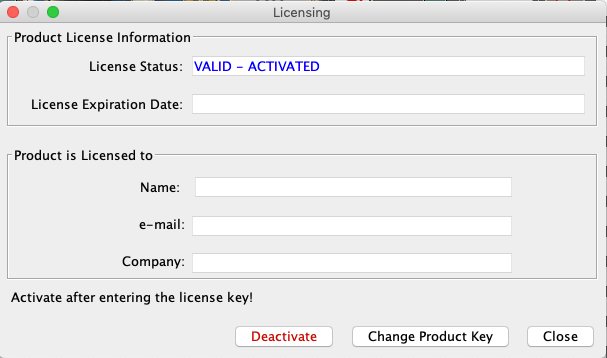
The first time you open the program there will be a license activation screen popping up where you can enter and activate the license key. Click on the ‘Change Product Key’ to insert the license key you copied on the website, after entering this you need to click on ‘activate’.

Free Arduino IO Simulator 1.8 macOS
Installation guide
First, you have to install the Java JDK on your mac. On a windows computer, it's sufficient to install only the JRE. Accept the match and choose the jdk-8u201-macosx-x64.dmg
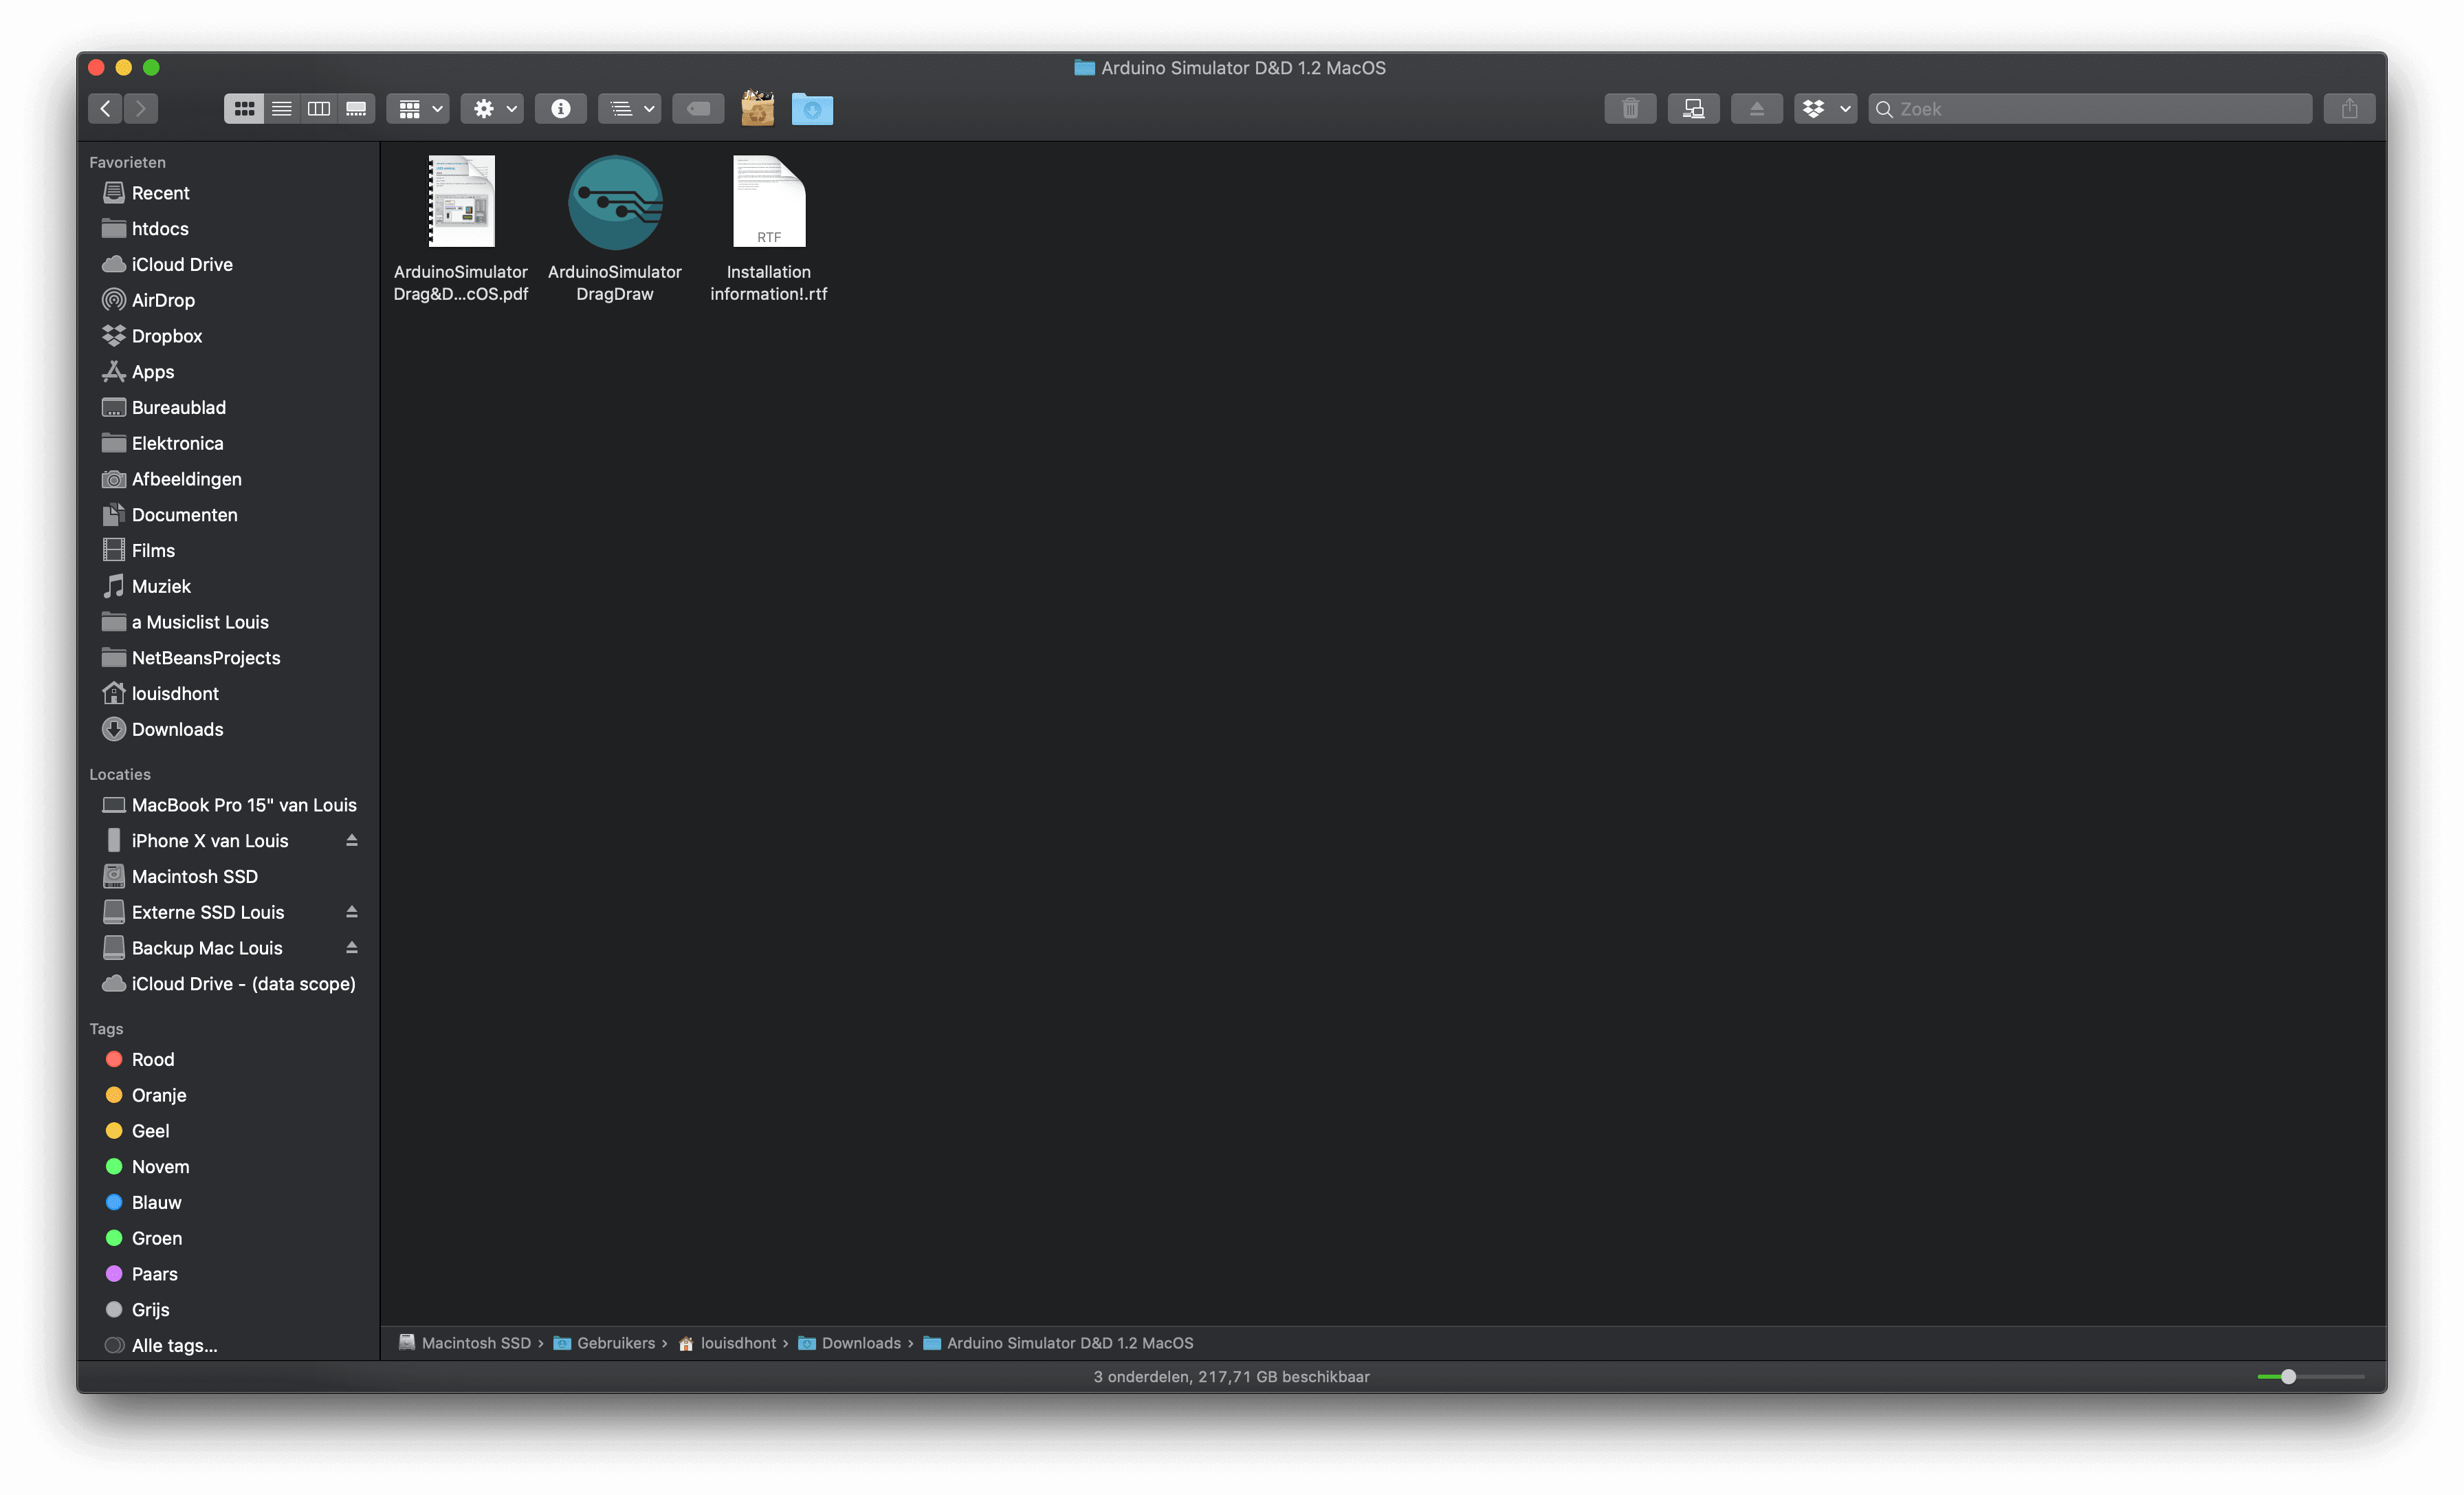
Download the Arduino IO Simulator from the website and you will get a file called 'Arduino Simulator 1.8 macOS' in your Downloads folder. You will have 3 files in the folder, the user manual, a text file with installation information and the Arduino IO Simulator.
In order to let the simulator work, it must be placed into the Applications folder.
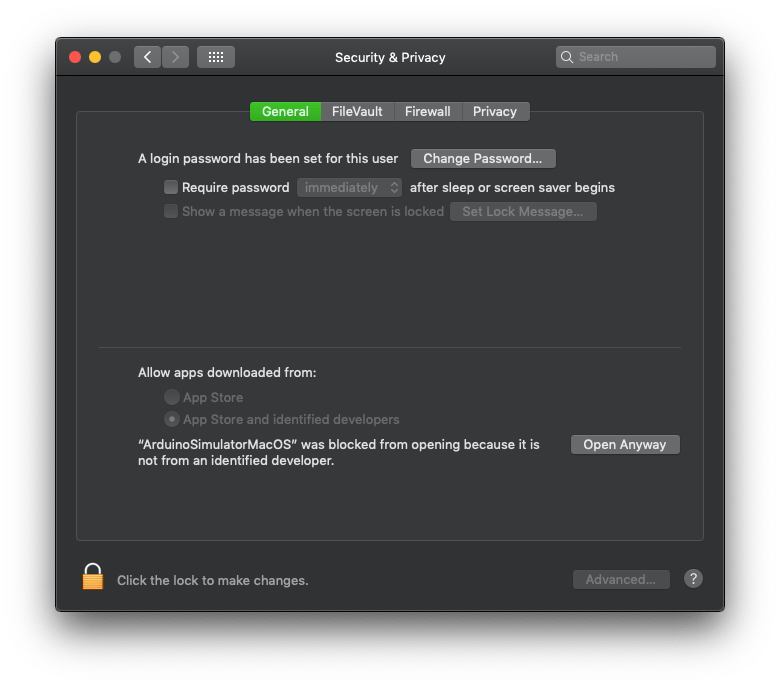
Because we are an unidentified registered developer you need to open the System Preferences and go to Security & Privacy, under General you will see a message with a button 'Open Anyway'. This will open the simulator.
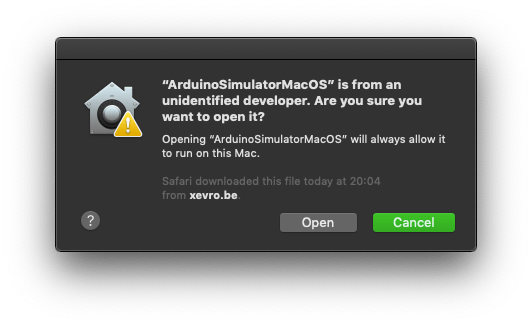
This is the message before clicking 'Open Anyway'
The first time you open the program there will be a license activation screen popping up where you can enter and activate the license key. Click on the ‘Change Product Key’ to insert the license key you copied on the website, after entering this you need to click on ‘activate’. Check the how-to support page for more information about the usage.
Arduino IO Simulator (Drag & Draw) macOS
Installation guide
First, you have to install the Java JDK on your mac. On a windows computer, it's sufficient to install only the JRE. Accept the match and choose the jdk-8u201-macosx-x64.dmg
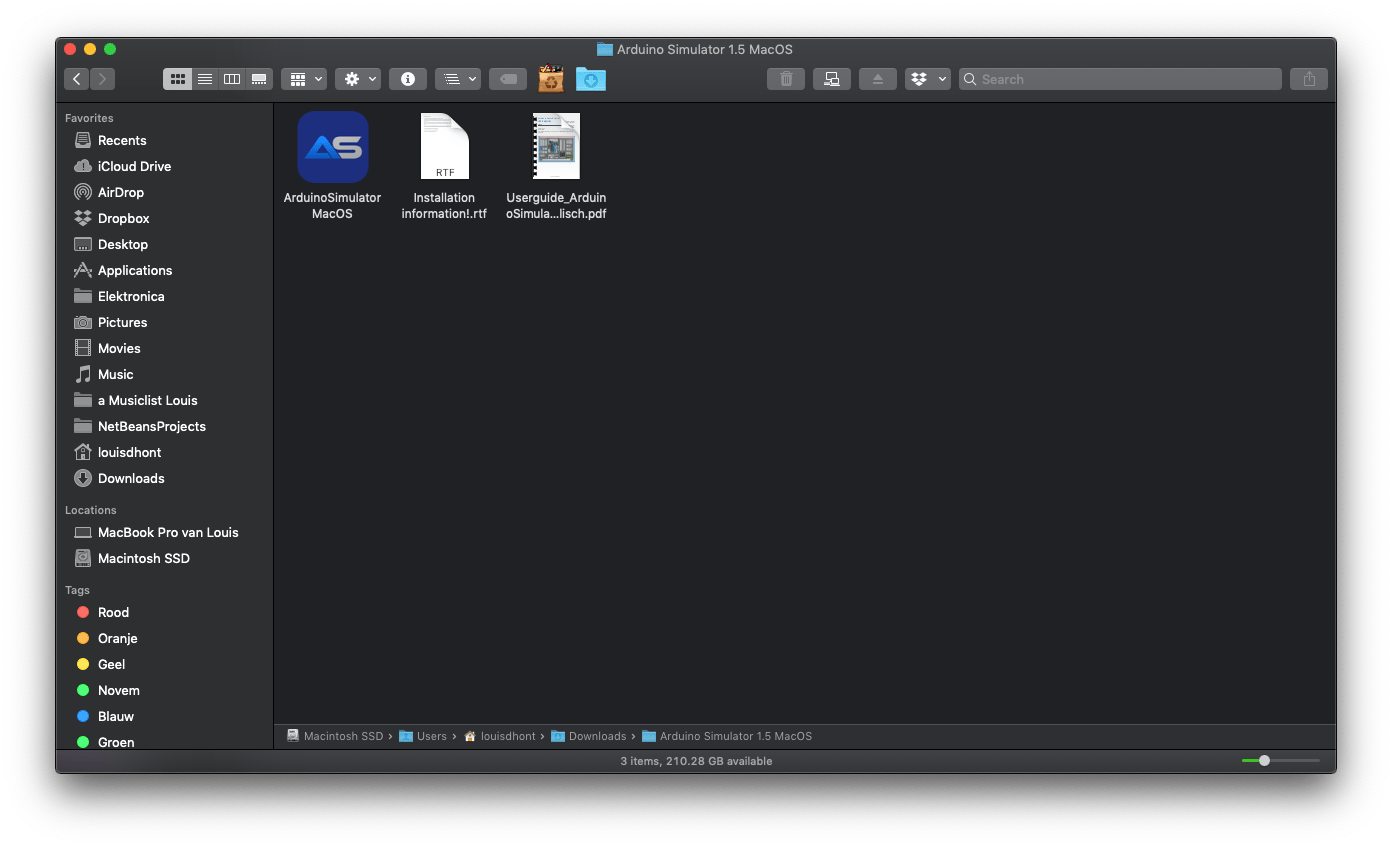
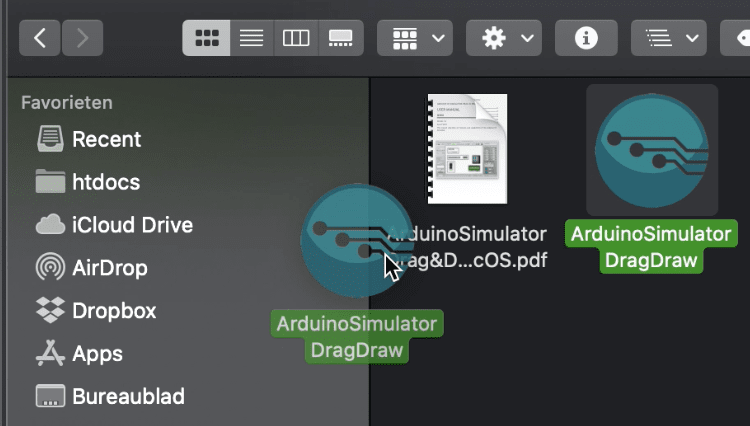
Download the Arduino IO Simulator from the website and you will get a file called 'Arduino Simulator 1.5.2 macOS' in your Downloads folder. You will have 3 files in the folder, the user manual, a text file with installation information and the Arduino IO Simulator.
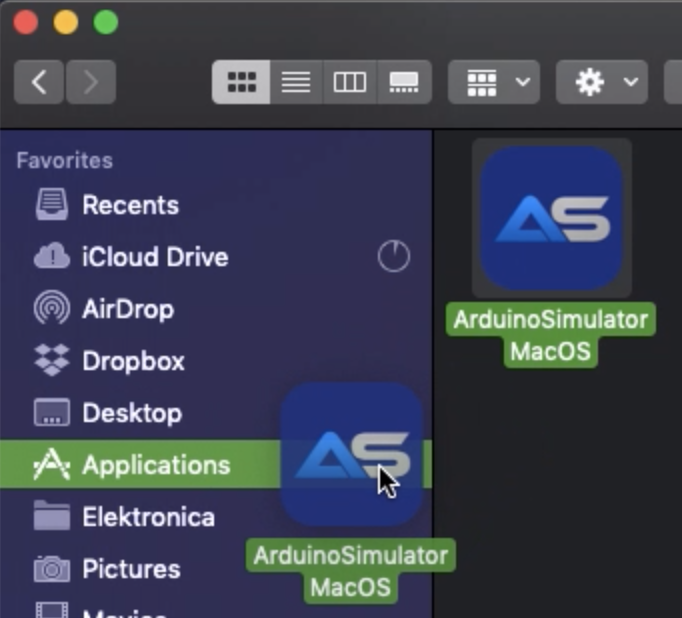
In order to let the simulator work, it must be placed into the Applications folder.
Because we are an unidentified registered developer you need to open the System Preferences and go to Security & Privacy, under General you will see a message with a button 'Open Anyway'. This will open the simulator.
This is the message before clicking 'Open Anyway'
The first time you open the program there will be a license activation screen popping up where you can enter and activate the license key. Click on the ‘Change Product Key’ to insert the license key you copied on the website, after entering this you need to click on ‘activate’. Check the how-to support page for more information about the usage.
Arduino IO Simulator (Drag & Draw) Windows
Installation guide
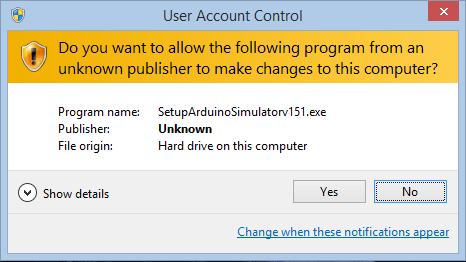
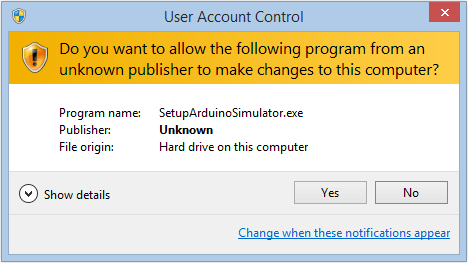
Download the Arduino Io Simulator from the website and you will get an executable 'exe' file called 'SetupArduinoSimulator.exe' in your Downloads folder.
Your computer will ask if you want to install this program. Click on 'Yes' to start the setup process.
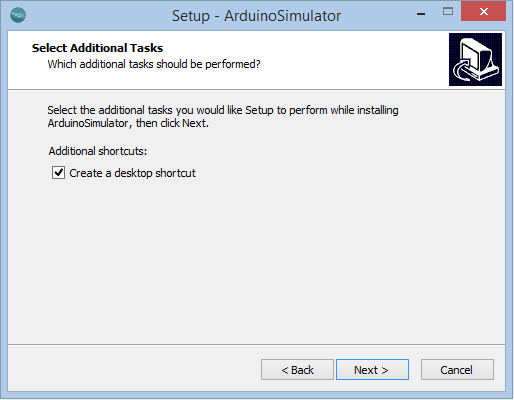
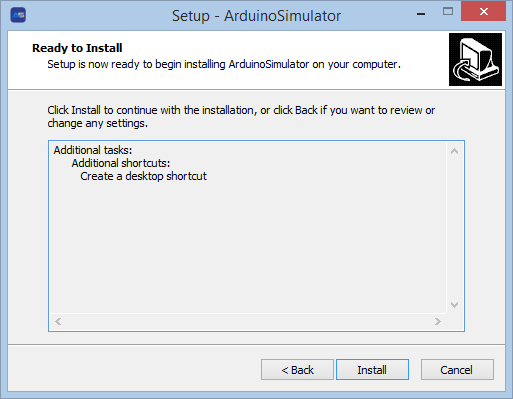
Choose your language and click on 'OK'. Currently English and Dutch are available. If you want to add a simulator shortcut to your desktop, check the checkbox to accept this.
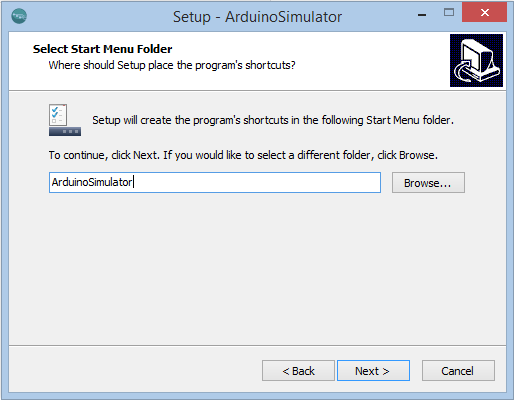
The Simulator installation folder is automatically called 'ArduinoSimulator' (Don't change the name!). It's possible to let the simulator be installed in another folder like Program files.
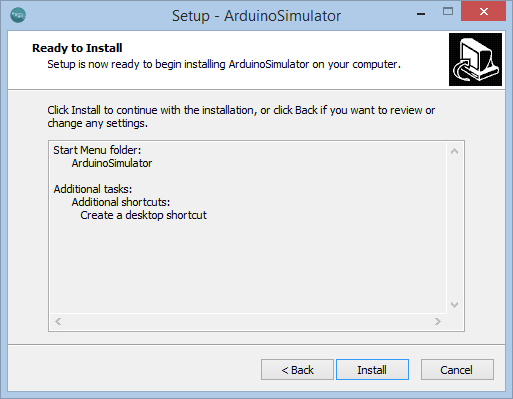
Click on 'Install' to start the installation.
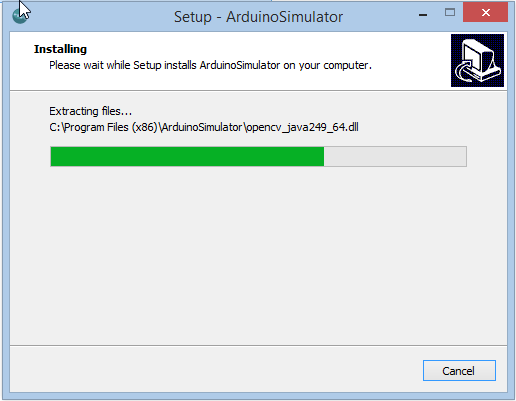
The files will be installed within a few seconds.
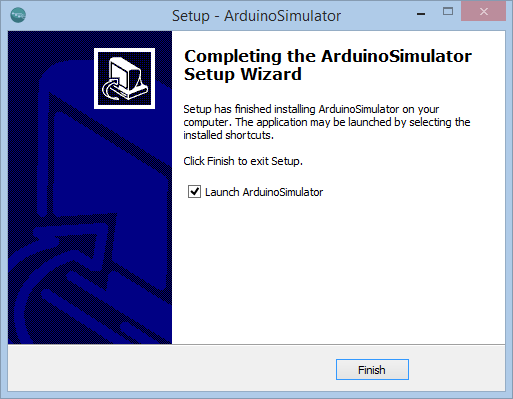
The installation is completed, you are now ready to use the Arduino Simulator. Check the how-to support page for more information about the usage.
The first time you opens the program there will be a license activation screen popping up where you can enter and activate the license key. The Arduino Simulator Drag & Draw is available for 30 days free or you buy a lifetime license.
Click on the ‘Change Product Key’ to insert the license key you copied on the website, after entering this you need to click on ‘activate’. When you want to change the trial as a paid version just replace the license key by clicking on the ‘Change Product Key’. After entering the license key you can activate the key with the ‘activate’ button.